Tuesday, October 9, 2012

UTAH: CAPITOL REEF NATIONAL PARK AND ENVIRONS

When I was a young boy my secret wish was to go out west, which I interpreted as Texas, because that seemed to be where most of the westerns that I saw on TV took place.  This place of my imagination was filled with wide open spaces clothed in scant vegetation and backed by mountains and by buttes and mesas, a place very different from the landscape of southern Michigan where I grew up with its lush, gently rolling hills and with not even a hint of a mountain in sight.  But that western landscape of my childhood was just the sort of terrain that we passed through on this second day of our adventure in south central Utah.

We first drove 20-30 miles west from where we stayed in Hanksville, Utah through the northern portion of Capitol Reef National Park, which is a long, narrow park that runs roughly north and south.   We then drove south along the eastern side of the park before heading west through a beautiful canyon at the southern end of the park and then drove back north to the west of the park to the road that we had initially driven to come into the park.  This was truly backcountry.  There were few other cars on the roads, long stretches of which were unpaved but easily passable, especially with Jeff's new Xterra.


One of the first places we stopped in Capitol Reef was to view some prominent petroglyphs that the Park Service had done a nice job in providing access to.


There is a grandeur to this area that is difficult to capture in photographs, particularly when you are trying to do so on the fly.  My first attempts were spent in photographing the many mesas that we passed by.  I was intrigued by the geology of the terrain and was trying to capture some of that as well as the overall landscape.  Here are a couple of those efforts.


Here was another attempt that included the highway to provide some context.


But perhaps the best opportunities to capture this landscape were where the vista included successive ranges of mesas and mountains, as in the following shots.


I liked the dead trees in this first shot, but the shot below, cropped horizontally to emphasize the overall openness, I think does a better job.


There were numerous opportunities, too, to take a closer look at some of the lines created by the geology of the area, as in the following shots.


On the latter part of the drive, as we were heading back north, we passed through miles of aspen that were in full color.  Again, I had a problem trying to include both the color and the overall landscape of the scene without the shot looking too much like a scene from a dime store calendar.


As we passed through Capitol Reef a second time at the end of the day, Bei pointed out that the park included apple orchards that offered free apple picking, as long as you ate the apples in the grove.  Here was one of those groves.


Bei's adventure picking apples was threatened by a buck who loped through the grove toward her, apparently intent on heading her off from the apples.  But when she persisted, the buck backed off.

Taken with my Nikon D7000 with Nikkor 24-120mm f/4 lens.

Saturday, October 6, 2012

UTAH: LITTLE WILD HORSE CANYON

On Saturday, September 29, Jeff, Bei, Geri, and I headed down to south central Utah for a three-day hiking trip.  Our first stop was to be Little Wild Horse Canyon, a popular slot canyon located near Goblin Valley State Park.  I was pretty excited because I had seen a lot of stunning photos taken in slot canyons and I was fantasizing that I could get some of those same shots myself.  Not as easy as I thought it would be, but the hike was amazing and a lot of fun.

The canyon is located about 240 miles south of Salt Lake City, so we had a long ride to get there.  The fall colors were peaking at this same time, so there was a lot of beautiful scenery a long the way.  We were anxious to get to the hike by mid-day, so we minimized our stops to take photos of the scenery.  I took the following shot out a side window, while we were on the move.


This was purely serendipitous, as I was hoping to minimize the motion blur when I took the shot.  When I saw the impressionistic look to the shot, I took a few more, but none of the others came out as well--either too much blur or not enough.

Before going on the hike, I had looked up some tips on taking photos in slot canyons.  One of the keys was to try to shoot at mid-day.  This seems to be counter to the usual advice to the effect that the best light is during the hours just after sunrise and just before sunset.  However, sunlight has difficulty getting into slot canyons and the best time really is when the sun is most nearly overhead.  A second tip is that the range in the amount of light in a slot canyon can be very great.  So the the advice is that one should avoid letting any sky into the shot, since it will be "blown out."  Likewise, one should avoid, where possible, shooting any surfaces that are bathed in direct sunlight.  In other words, one should focus on shooting surfaces that are lit by reflection off one or more other surfaces--second or third hand light.  One also should be prepared for long exposures, so a tripod should be in order.

Well, those are the recommendations, which are very good.  But the reality was that we did not get to the canyon until after the best light, so our chances of getting "award winning" shots were much diminished.  Even so, I brought a tripod (which Jeff was kind enough to carry), although I did not use it for many shots--too much rigamarole.  I will have to say also that, while the canyon was stunning, there were perhaps fewer opportunities than might have been available in certain other locales.

My early efforts were to try to capture both the narrowness of the canyon as well as the indirect light illuminating the canyon walls.  Here is one of those attempts.


OK, but I realized that it might help to have one or more people in the photo, as in the following shot.


Here are a couple more people shots that give a good feel for the narrowness of the canyon, as well as the texture of the rocks.


The canyon included a great deal of interesting rock formations caused by the erosion forces that created the canyon over time, and I took a great number of shots attempting to capture those formations.  Here is one of those shots.


Nice, but again I think it was even more powerful to include people in the shot.  Here is essentially the same shot that included Geri, Jeff, and Bei.


And here is another "people" shot featuring Geri and Bei.


Over time I decided that simpler might be better in terms of shooting the rocks.  In a lot of the shots, rather than trying to capture the narrowness of the canyon, I focused to some extent on the patterns that the rocks were creating.  Following are a few examples of that.

Here is a shot of a fairly straightforward rock face that was nicely positioned to bring out its character.


Besides, there was enough light to allow me to get a shot with good resolution.

The following shot has the advantage that it features an overhang in the upper right that adds depth to the composition.


Here are a few shots that are perhaps overly simple, but they at least do a fairly good job of capturing some of the "slot canyon" light.


I do like the simple curved line in this last shot.

And here are a few more shots in which I was just trying to take advantage of the texture offered by the rock and the light.


The following is probably my favorite of the shots I took in the canyon.


The light is quite good, which shows off the grain and texture of the rock.  The piece of the path also helps to provide context to the composition.

The canyon is some 3-1/2 miles long and we decided to hike to the "end" and then return.  On the way back to the car we passed a lovely tree on the trail that I took a shot of.


Pleasantly tired, we then headed to Hanksville where we had dinner (not so good) and stayed at a very modest motel (also not great). On the way we stopped briefly, and I took the following shot of a fence post, a shot that I--but no one else in the family--liked.


At dusk I took the following shot of a distant mountain range.  I like this shot for its extreme simplicity.  The only problem was unavoidable utility lines.


Taken with my Nikon D7000 with Nikkor 24-120 mm f/4 lens.

UTAH: MORMON AREA

Geri and I visited our son, Jeff, and his wife, Bei, over the end of September and beginning of October, and the next several posts will cover our trip.  So in some ways these posts will serve both to document the trip as well as to attempt to show more "intentional" photography.

As most people know, the LDS (Mormon) church dominates Utah culture.  In fact, while a majority of Utah residents are members of the Mormon church, they represent only a minority of residents in the Salt Lake City area.  Nevertheless, their influence is dominant there as well.

On our first full day in Utah, I found myself with my camera in the Mormon temple area.  There are a number of buildings in the area, including an attractive church, the Tabernacle, and the imposing Temple.  There were also exposition and reception buildings intended to educate the general public about the church that I did not enter or photograph.  All of the buildings are in excellent condition.  Here is a shot of the church, which appears attractive and traditional in appearance.


The one thing that seems to be missing from this as well as all of the other Mormon structures are crosses and crucifixes.  This church included a number of nice details, such as the following window over a side door.


The Temple, which is generally not open to the public or even many members of the church, is an imposing white stone edifice with soaring spires.


The feeling evoked is somewhat forbidding.

What is a lot more familiar--and comfortable--and fully accessible is the Tabernacle, home of the famed Mormon Tabernacle Choir.  It perhaps is best described as a large, oval, flattened domed building.  It is difficult to get a shot of the entire building because of the treed courtyard and surrounding buildings, but I think the following shot give some of the flavor of the exterior.


The interior is very open and, because of the shape of the building, has excellent acoustics.  I recall from a visit many years ago a demonstration of those acoustics by a speaker at the podium who speaking normally and could be heard throughout the auditorium without any amplification.  He demonstrated this by tearing a piece of paper, the sound of which could also be heard clearly without amplification.  There was no demonstrations at the time I visited, but the auditorium was available for photography, and I took a some shots.

Here is one from the back of the auditorium, highlighting the enormous pipe organ and choir area.


As is apparent, the space is quite devoid of any particular art work.  Here are a couple of shots of the pipe organ.


As with nearly all interior spaces, light was something of an issue.  These shots were taken at ISO settings of 400 and 640, to keep shutter speed at a reasonable level.

I liked how the light from the ring of windows circling the building was reflecting off the rows of pews and took the following shot, which I liked quite a bit.


It's a little dark, but I think conveys well the feeling in the room--stark and without ornamentation.

Once back outside, I took this photo of a reflection of the Tabernacle in the windows of another building on the grounds.


I am a fan of such reflection shots because of the abstraction that they introduce into the subject.

There were a number of sculptures on the grounds that depicted events important to the Mormon faith.  One that I liked was the following of Joseph Smith receiving inspiration.


I worked to position the bright profile of his face and hands against a dark background.

The most striking sculpture was one entitled "Restoration of the Melchizedek Priesthood."  This portrayed the laying on of hands of Joseph Smith by the apostles Peter, James, and John in 1829.  I found this sculpture to be eerie, to say the least.  And the stark shadows created by the bright sunshine added to the feeling.  Here are a couple of the shots that I took.


I considered converting these to B&Ws, but there was so little color to begin with that I just left them as they were.

Taken with my Nikon D7000 with Nikkor 24-120 f/4 lens.

Thursday, October 4, 2012

DOORS OPEN MILWAUKEE 2012: TRIPOLI SHRINE CENTER

This is the last of my posts on the Doors Open Milwaukee 2012 event held September 22-23.

The Tripoli Shrine Center, located a couple of miles west of downtown Milwaukee, was completed in 1928 to serve as Shriner headquarters for the Milwaukee area.  Loosely based on the Taj Mahal, it is one of the best examples of Moorish revival architecture in the United States.  Even though I have lived in the Milwaukee area for over 35 years, I have rarely found myself in this neighborhood, and it had been many years since I had last driven past this building, the architectural style of which is so unusual, particularly for this neighborhood.

Here is a (not very good) shot of the exterior of the building, which features a large Moorish dome, as well as two smaller domes.


And here is a photo of the primary entrance to the building.


I didn't see much to photograph on the first floor of the interior, but it got a lot more interesting as I ascended the stairs to the second floor.


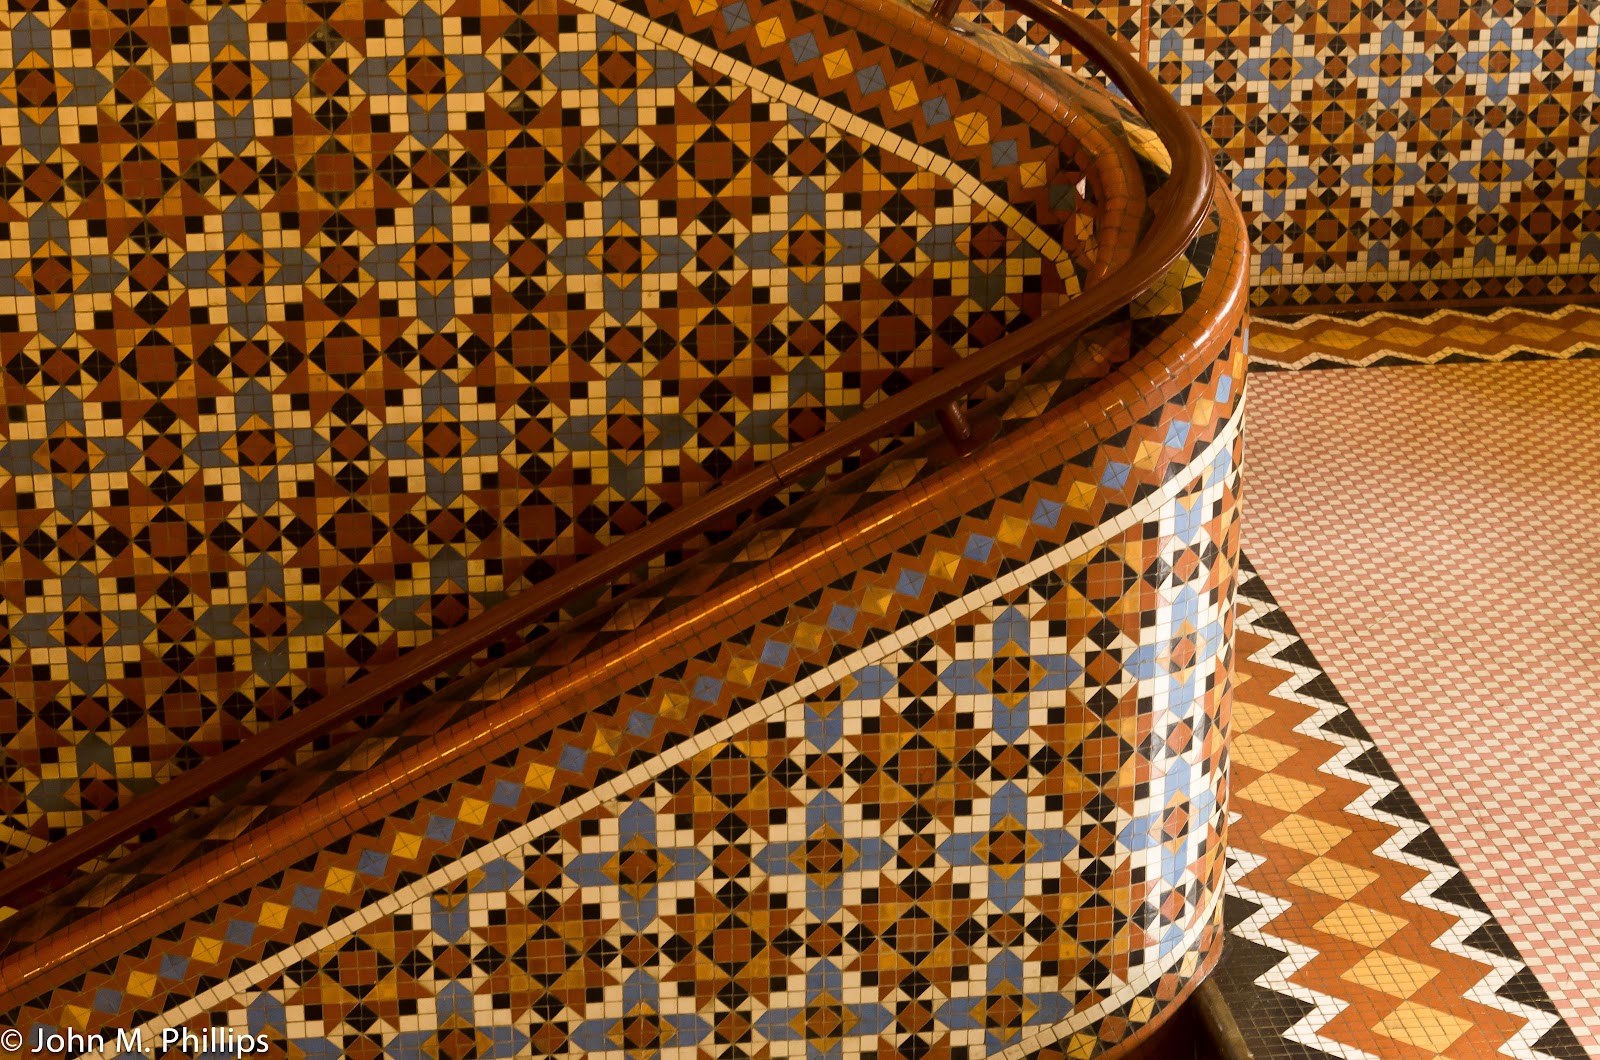
The Moorish architectural detail was very evident in the second floor pillars and in the highly detailed tiling leading up to the second floor.   Here are a couple of shots that feature that tiling detail.


The same architectural motif was evident in the design of the windows at the landing leading to the second floor.


I converted this shot to a B&W to emphasize the shapes of the windows as well as the design of the leading in the windows.  (Besides, the light from the exterior rendered the interior quite dark, so I just decided to focus on lines rather than on color.)

The real highlight of this fascinating building was the reception hall on the second floor, which consists of a large open room directly under the main dome and featuring a domed ceiling (though the interior dome is, in fact, much smaller than the exterior one).

I used my usual technique of placing my camera exactly under the center of the dome facing up and taking a shot using my remote shutter release.


Even though I set my lens at its widest angle, I was not able to capture the full dome.  I really do need a true wide-angle lens.  Technically speaking, I was also handicapped by the fact that my camera has a "crop sensor," which means that it only records the center portion of the image that the lens is transmitting.  So, even though the lens was set wide open at 24 mm, the portion of the image that the lens was sending to the sensor was equivalent to what would be seen with a 36 mm lens--not really wide-angle.

One of the problems with the above shot is that it does not convey the three-dimensionality of the dome.  Here are a couple of additional shots of the ceiling that hopefully reflect the complexity of the ceiling.


I especially like this last shot, taken at an oblique angle.

And, finally, here is a shot of the floor of the room taken from a balcony that surrounded the two-story room from one floor up.


The interior of this building (as well as the exterior) was in magnificent shape.  A stunning gem.

Taken with my Nikon D7000 with 24-120 mm f/4 lens.