White balance refers to the nature--primarily "warmth"--of the available light. Incandescent light is much warmer, for example, that midday sunlight or fluorescent lighting. This problem is fairly manageable if you shoot in RAW. This is because in RAW the camera is simply recording the actual quality of light that strikes its sensor. It is then up to post processing to modify that light to make the image look similar to how our eyes interpret the scene. Put another way, our brains automatically interpret, say, incandescent light to make it "whiter" than it actually is. A camera doesn't do that. But we can tell the camera (or our computer in post processing) to make that interpretation. In any event, in this instance white balance was not a major problem.
Dynamic range is more of a problem with interior spaces, particularly religious venues that often are lit almost entirely by the natural light streaming through the (often stained glass) windows. As a consequence, the windows tend to be too bright and the interior surfaces too dark. This is where a camera is no match for the human eye. We can distinguish a much greater range of brightness than can a camera. This means that a camera struggles where the image includes brightly lit windows alongside dimly lit interior surfaces.
In this post I decided to illustrate some of the challenges I encountered on my visit to St. Josephat's and how I tried to cope with those challenges by showing both "before" and "after" images.
Let me start with one of the ceiling shots I took. One of the most prominent aspects of the basilica is its domed central ceiling. But in this case I was focusing on a ceiling along one of the sides of the nave. Here is the shot as taken.

I took this shot by placing the camera on the floor pointed up and triggering the shutter via remote. Not a bad shot, really. One of the issues I was struggling with was how much to rotate the camera so the rectangular ceiling was not "squared up." In this case in post processing I decided to make fully vertical the up-and-down ribbing and have it bisect the image. I also felt that the image was a little dull, so I increased the contrast somewhat. Finally, I reduced the intensity of the the stained glass window in the lower left to gain a little definition there. Here is the result.

Better, but not that much different.
Here is a second ceiling shot.

In this case the shot was not quite centered on the ceiling: There is more archway on the right than on the left. Also, once again, I thought the image could use more contrast. Here is the result.

I liked the result here, particularly because the central dome is just visible in the lower part of the image.
The third photo in this sequence, a shot of the apse ceiling, illustrates the problems with dynamic range.

There were a number of problems with this shot. First, it is not quite symmetrical or level, so I had some leveling and cropping to do in post processing. But more importantly the light coming through the apse ceiling window had "fooled" the camera into a shorter exposure. As a result, even though the window is overexposed, the walls, particularly along the sides, are quite dark. So in post processing I lowered the exposure of the window and increased the exposure on the walls. I also stepped up the contrast a bit. Here is the result.
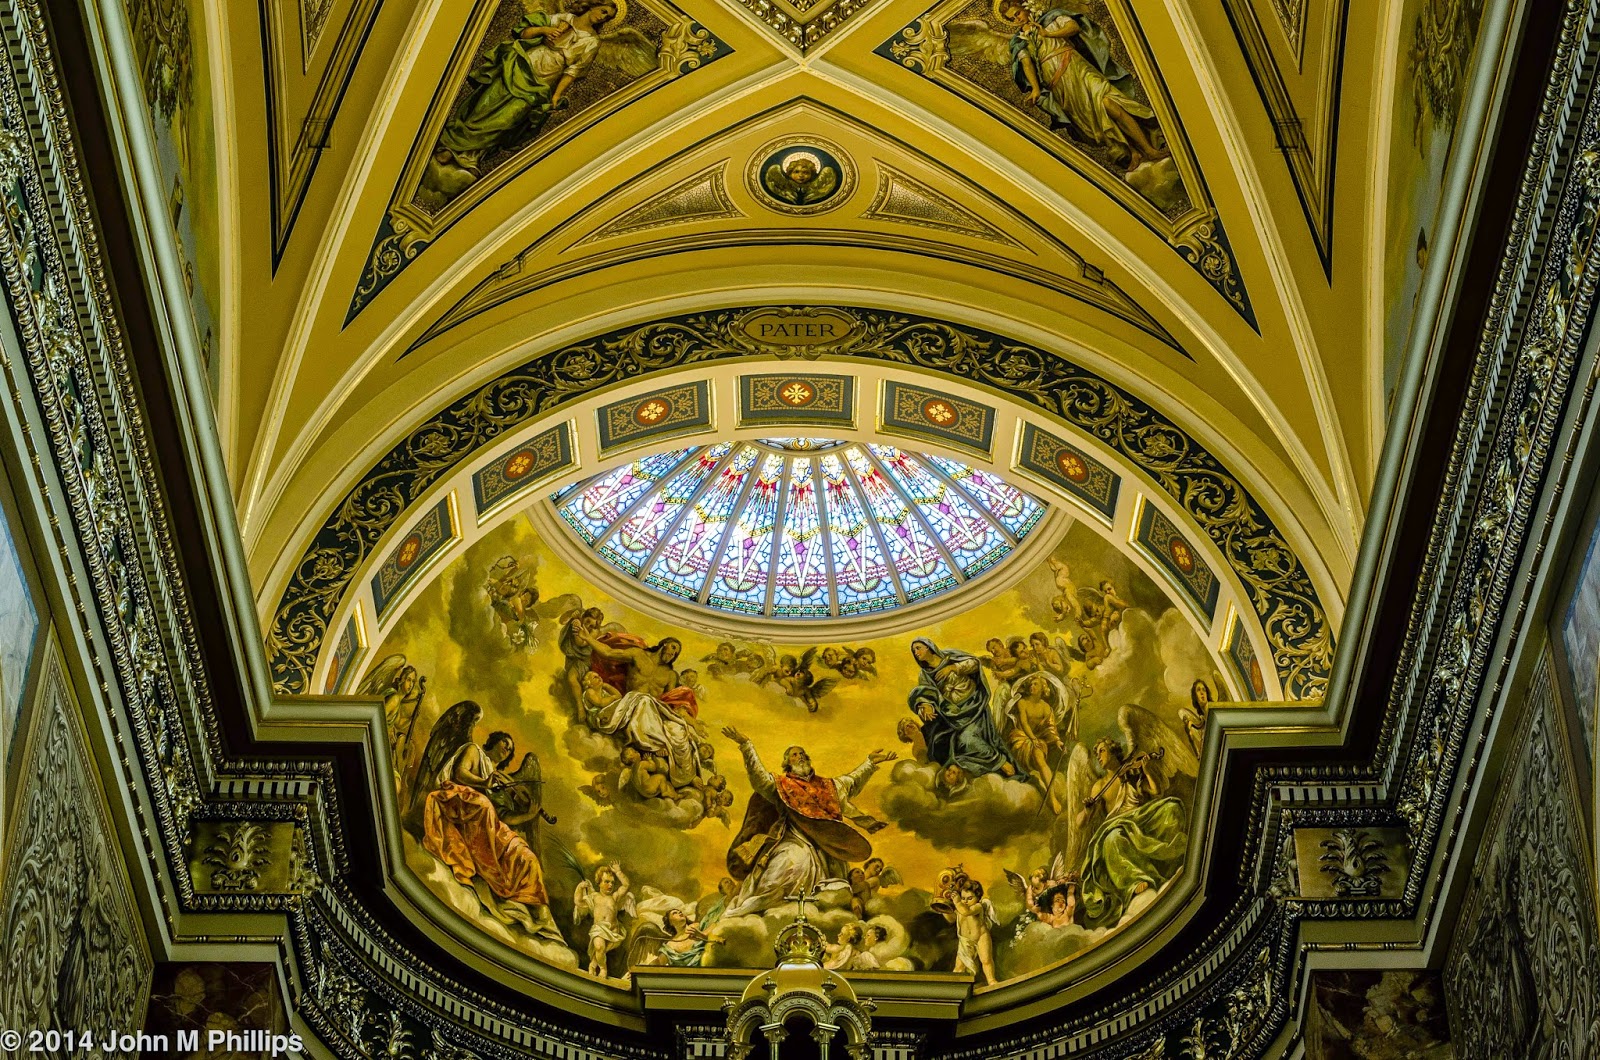
The window is still a little bright, but overall a much improved image, I think.
The next shot was of a small cherub sitting above one of the confession booths along the side of the nave.

I admit that I took an embarrassing number of shots of this sculpture . . . and never did get it right. The first thing I did was to shoot the cherub with the aperture wide open, to soften the background, in order to separate better the subject from the background. But in this shot there is still confusion between the dark cherub and the relatively dark section behind the cherub's extended arm. I should have moved to the left so that the cherub was positioned in front of the much brighter mural behind the cherub's wing in this shot. But I failed to do that. Moving further to the left would also have avoided the problem that this photo features the cherub "facing" out of the shot rather than into it. What to do? First, I cropped the image as a square to reduce the "facing" problem. I also brightened up the sculpture, which was quite dim and lacked definition. Here is the result.

The next shot was of the basilica's main rose window, which sits behind the pipe organ at the back of the choir loft. This shot clearly illustrates the dynamic range problem I referenced earlier.

Even though the image appears significantly underexposed (and probably is at least to an extent) there was so much light coming through the window relative to the interior that parts of the window are "blown out," losing any usable definition. In looking at a shot like this, you have to have some confidence that the information is there, it just has to be brought out. For the most part, in post processing I reduced the brightness of the window while increasing the brightness of the interior surfaces. Here is the result.

It may seem difficult to believe, but these are the same image. Now the organ's features are clearly shown, including an array of horizontally projecting pipes appearing in front of the lower part of the window. And there is archwork over the window now that serves to frame the scene.
Finally, here is another shot of a vertical stained glass window.

In this case I wanted not just to feature the window but to provide context in the form of the pillars and archway surrounding the window. But that meant having to deal with the dynamic range issue. The shot isn't terrible, but the window is clearly too bright and the interior too dark. There is also just a bit of a verticality issue. Here is the result of post processing.
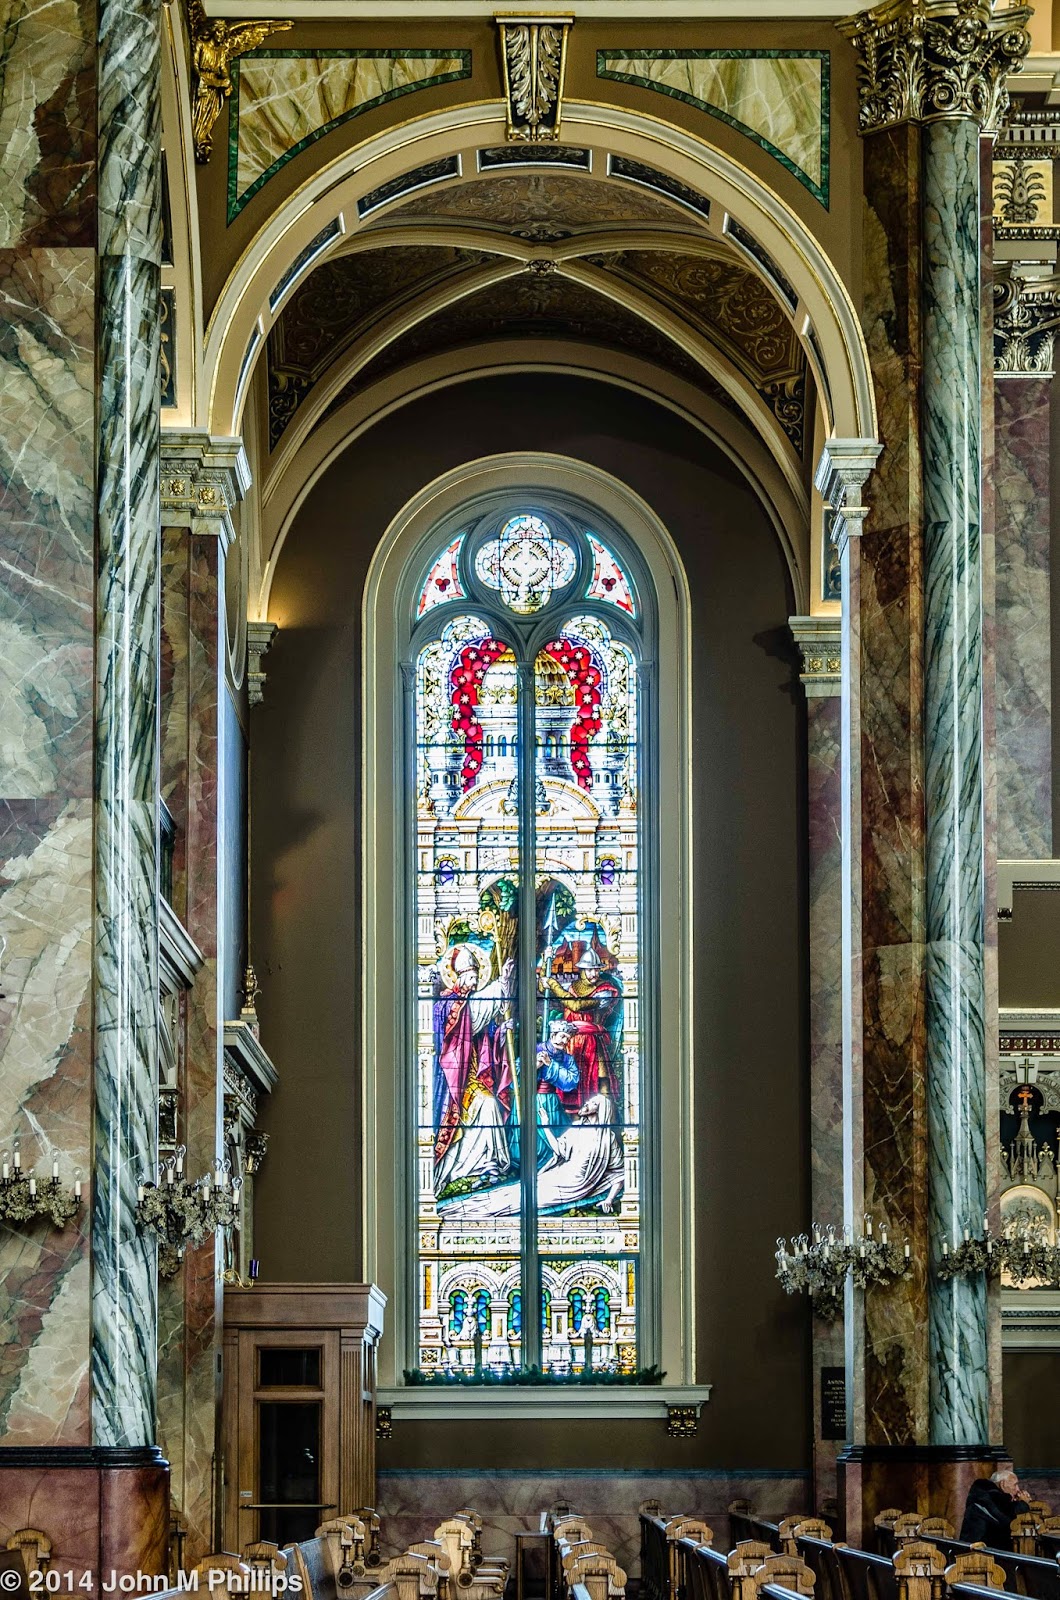
Again, both of these images are from the same shot. One more thing: Because I was shooting up, this caused a perspective issue with the pillars seem to be leaning in slightly. This is another fix I could make in post processing, with the pillars now appearing much closer to vertical.
Bottom line: Even though I need to do all that I can in setting up a shot to make my post processing job as easy as possible, it is surprising what can be accomplished with modern software, in my case Lightroom 5.
John
I am so amazed with your talent in picture taking
ReplyDelete